So you've caught the rock painting bug and want to host an event? We've got the answers you need to plan and host a great one!
1. Decide on how many people you will have.
The size of your group will impact not only where you hold the event, but also the amount of materials you will need. If you are opening it up to the public, it may be a good idea to ask for people to RSVP, even if the event is free, just so you can plan accordingly.
2. Find a location.
Hosting events outdoors at a local park is a great location, as long as you have a back up in case the weather doesn't cooperate. Many local parks and playgrounds have pavilions, but you should check with the park to see if you need to reserve the space. Indoor locations work well, too, just remember that paint can be a little messy, so make sure to ask the location if painting is ok.
3. Materials
- Something to cover your work area - plastic tablecloths or newspaper both work well.
- Paper Towels - for drying off paint brushes, wiping up spills, etc.
- Acrylic Paints - you can find these at any craft store. A little goes a long way, and you can buy individual bottles or they also sell packs of 20 or so bottles in varying colors. I started with a pack, and now I just buy individual bottles to replace empty ones.
- Smooth River Rocks - I prefer the ones that are 3-5", but really you can use any kind you want. You can find them at many local garden centers, or at Lowe's, Home Depot, or even on Amazon. A 20 lb. bag of 3-5" river rocks has approximately 70 rocks in each bag. I like to give each person at least 2 rocks, especially if kids are painting, because sometimes it's hard for kids to want to hide or "give away" their creations. This way, you can tell them they can keep one, and take one to hide in a park or playground, for someone else to find to make them happy.
- Sealant - I prefer to use spray Mod Podge, though you need to use that outside. Clear spray paint works, too. You can use regular Mod Podge and paint it on, which paints on white and dries clear, a good way of knowing when your rocks are dry.
- Paper plates - I have found that a paper plate for each person works well, so they have something to put their paint colors on. Remember that a little bit of paint goes a long way. You only need a about a dime size amount of paint to cover the top of a rock.
- Paint brushes - I have a variety of sizes of paint brushes and plenty of them. Larger brushes are good for painting the whole rock, while smaller paint brushes work well for painting designs, words, or pictures.
- Cups - you'll need these for water so people can rinse off their brushes, and they also work well for collecting the used paint brushes at the end to take them all home.
- Paint Pens - I have Posca Pens that work perfectly for writing words on the rocks. You can use Sharpie markers, too, but in my experience, the ink from Sharpies sometimes runs when the sealant is applied.
4. Set up
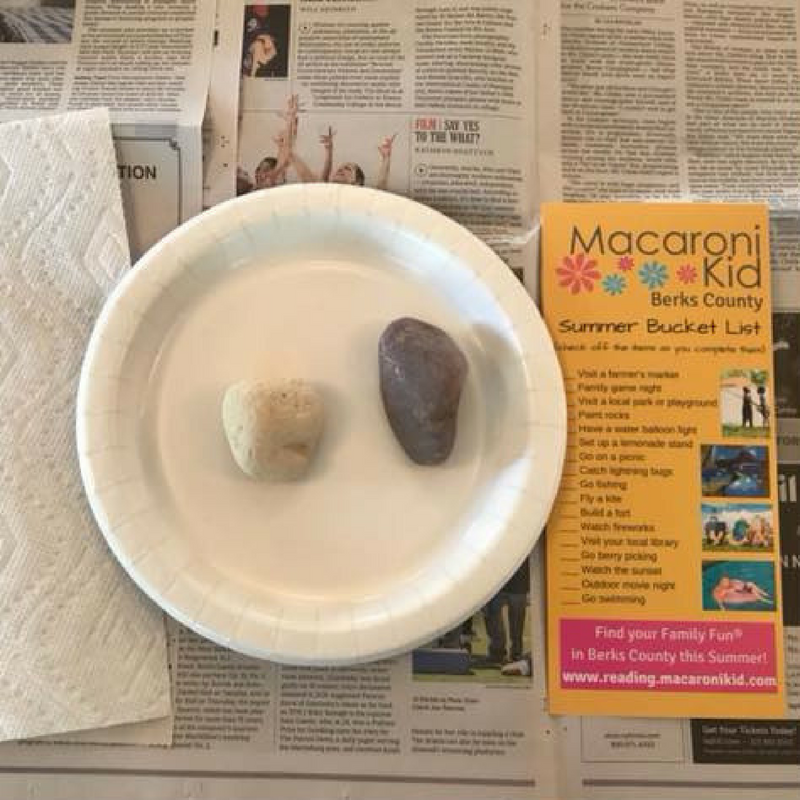
I like to set up each person's station ahead of time. Here's a sample set up from a recent event I did. I have found that this works better, especially if kids are involved, so it doesn't take forever for each person to pick out their rocks. I start everyone out with their paper plate, rocks, and a paper towel. In addition, if you have a special offer, postcard, business card, flyer, etc. that you want to give participants, you can place that at each spot, too. I also set out cups of water on the tables for everyone to share, but enough that there is at least one within reach of every spot.
5. Arrival
As your guests arrive, you can instruct them to take their plates and go to a central location where the paint is to choose a few colors to paint with. They can also pick up a paint brush or two. Ask that they only take what they absolutely need. They can always come back up to get more paint or a different sized brush. Sometimes I also set out different items that can be used to make designs. Straws, Q-tips, string, etc. can all be used to dip in paint and used to make creative designs.
6. Allowing the Rocks Time to Dry
It's a good idea to have something for your guests to do as they wait for their artistic creations to dry. The paint doesn't take too long (as long as there are not big blobs of paint on the rock), so an activity that takes about 15-20 minutes should be enough time. Don't want to wait? You could always have hairdryers on hand for people to use to help speed up the drying process.
7. What to Write on the Backs of the Rocks
After the painted rocks are dry, it's time to write your message on the back. Depending on the size of the rock, you may need to adjust what you write, depending on the space. Here are some suggestions:
- Keep or re-hide, but please post a picture to Facebook at Berks County Rocks.
- Facebook: Berks County Rocks
- Share on Facebook: Berks County Rocks
- You found me! Now share me on Facebook at Berks County Rocks
8. Sealing Your Rocks
Your creations are done, so all that's left to do is put the clear coat on to protect your rocks from the weather before taking them and hiding them.
Jennifer Schorr is the founder of Berks County Rocks. Berks County Rocks is registered with The Kindness Rocks Project, and the purpose is to spread happiness, love & inspiration through the simple gesture of painting rocks & "hiding" them throughout the community for others to find. This is a community-building group meant to inspire creativity in all ages & bring kids/families together.